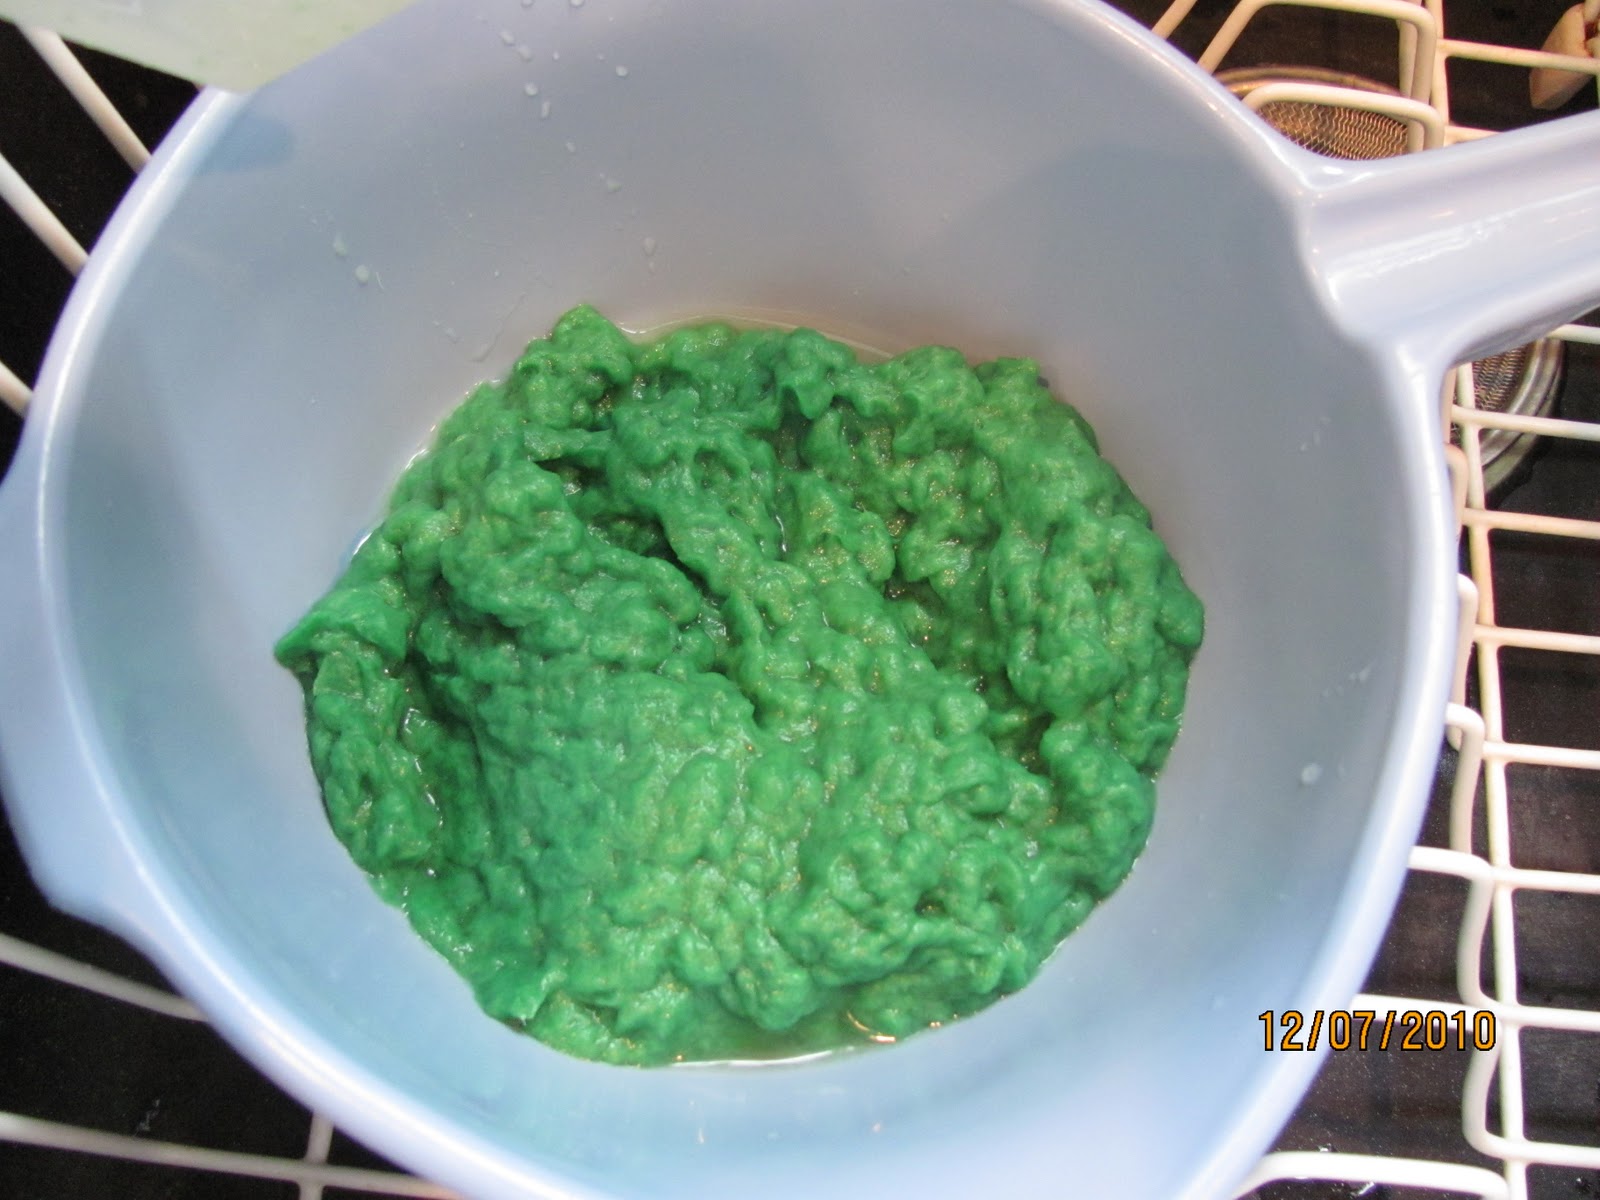
How to Make Butter Slime
-
My daughter has been asking to make butter slime. With a very successful
second and third tries (not first), we thought we'd share this butter slime
recipe...
Now blogging at THIS SIMPLE HOME.
At This Simple Home
Showing posts with label paper craft. Show all posts
Wednesday, September 7, 2011
Owl Card for Owl Baby Shower
The Owl Valentine's Day card I made for my husband was featured with other great ideas for an owl baby shower. Check the shower ideas out!
Labels:
blogging,
paper craft
Friday, March 11, 2011
Let It Snow Preschool Craft
| Age 4 on left - Age 2 on right |
(This snow-filled post was actually written about a month ago! I had forgotten to post it! I know many are out there looking for spring crafts, but for many snow is still a reality. So I'm sharing.)
We have had way too many snow days with M home from preschool. The good news is that snow days motivate me to craft with the kids. Unfortunately, snow seems to be my main (only?) inspiration.
We made these snowy pictures using paper reinforcements to show the snow falling. We used basic shapes to make houses and trees and ripped paper to make snow drifts. My 4 year old, M, cut most of her own shapes after I drew the outlines.
My younger child's house looks more like a house because my 4 year old wanted her roof in the air. She was aware that the roof belonged on the house because she asked me if she could put it where she did instead of on the purple square. I helped my 2 year old son, E, by assigning a name (roof, window, door) and asking him where the pieces should go.
We may pull out the paper reinforcements later this year for bubble pictures since my snow was convinced they were bubbles, and not snow.
See our coffee filter snowflakes and name snowmen, too!
Labels:
paper craft,
winter
Wednesday, February 16, 2011
Raggedy Ann and Andy Craft
Having read The Raggedy Ann Stories (linked to review) and currently reading Raggedy Andy Stories
, I was excited to look for craft ideas. Looking online, I didn't really come up with much. I was quite disappointed, but did find a tube doll. Below outlines our very basic craft that truly excited my daughter. My son enjoyed it, too, and liked to point to them and say who made which craft.
Though my son (age 2) doesn't know Raggedy Ann or Raggedy Andy, he does like to craft. (We're just getting started.) My four year old suggested that he make Raggedy Andy and she would make Raggedy Ann.
Materials Needed for each:
Paper plate
2 black buttons
Red yarn
Scissors
Scissors
Pink or red paper
Marker(s)
Glue
We've read enough of the stories, that I knew my daughter would remember what shape nose and what kind of eyes (shoe buttons) that the dolls have. I asked her about each. She also remembered that they have painted smiles. She was not disappointed that I only had buttons and not shoe buttons. They worked!
For Raggedy Ann, I showed my daughter how to make looped yarn hair since that is how the book describes it. We just placed the two ends of a long piece of yarn together and glued it. Also based on illustrations from the book, first we drew the smile with a pink marker and then a black. Somehow both of my children placed the noses upside down, but they certainly do not mind!
To help my son with the idea of making a head, I first drew the smile on the plate. Then we glued the eyes and nose. Lastly, he placed hair on Raggedy Andy.
I highly recommend reading any of the Raggedy Ann and Raggedy Andy books
by Johnny Gruelle! (We haven't tried any of the other authors yet.) I'm thankful our library has several copies, but we may want our own later.
For Raggedy Ann, I showed my daughter how to make looped yarn hair since that is how the book describes it. We just placed the two ends of a long piece of yarn together and glued it. Also based on illustrations from the book, first we drew the smile with a pink marker and then a black. Somehow both of my children placed the noses upside down, but they certainly do not mind!
To help my son with the idea of making a head, I first drew the smile on the plate. Then we glued the eyes and nose. Lastly, he placed hair on Raggedy Andy.
I highly recommend reading any of the Raggedy Ann and Raggedy Andy books
Labels:
book activity,
paper craft,
preschool craft
Wednesday, January 26, 2011
Coffee Filter Snowflakes
This week we had a bit of fun with snow. Snow books and snow art and snowflakes. (Some snow art will be posted later next week, too.)
I like coffee filter snowflakes for lots of reasons. Coffee filter snowflakes are easy. Both my 2 and 4 year old children could participate. Circular snowflakes. Snowflakes that make coffee filters useful. (With my small package of coffee filters, they will likely last a lifetime. Yep. My husband and I do not drink coffee, but we do have a tiny coffee maker for guests who need it.)
After our little project we read the very short chapter book Henry and Mudge and the Snowman Plan
. Though it is a chapter book, we read it in one sitting. I love that M is starting to enjoy lengthy books! E's (and M's) favorite snow book is probably Snowmen at Night
or Frosty the Snowman
!
I have seen these easy snowflakes around blogland quite a bit, but the first place I saw them was at Cheerios Underfoot. Thanks for the inspiration!
I am linking this to some great crafty resources!
I like coffee filter snowflakes for lots of reasons. Coffee filter snowflakes are easy. Both my 2 and 4 year old children could participate. Circular snowflakes. Snowflakes that make coffee filters useful. (With my small package of coffee filters, they will likely last a lifetime. Yep. My husband and I do not drink coffee, but we do have a tiny coffee maker for guests who need it.)
First color the coffee filters with markers.
Place the coffee filters on a paper towel on a plate.
Then spray it. The kids love this!
Let the coffee filters dry. (If you spray lightly it doesn't take long.)
Fold in half three times
Draw some markings on it if your child is not able to understand how to cut the snowflakes yet.
Let the child cut!!
It takes a long time at our house.
Open it.
Be totally amazed at your child's beautiful creation!
Honestly, I had a blast with this project, too. (Can you tell?)
I cut the snowflakes that my two year old son or I colored. I had lots of fun.
We hung them in our kitchen window and the windows by our front door.
E (2) had fun coloring and spraying. M (4) had fun coloring, spraying, and cutting.
Initially, I only wanted to make white snow flakes. M had great fun with that. Then on another day, I decided it would be fun for both children to get involved in the project and so we all made colorful snowflakes. M's favorites are the colored ones, of course.
I loved that the the coffee filters were already round since I dislike square flakes. More importantly, they were easy to fold and cut for my little girl's introduction to snowflakes!
I have seen these easy snowflakes around blogland quite a bit, but the first place I saw them was at Cheerios Underfoot. Thanks for the inspiration!
I am linking this to some great crafty resources!
Labels:
book activity,
paper craft,
stART,
winter
Wednesday, January 12, 2011
Monday, December 13, 2010
Homemade Paper Christmas Ornament ~Tree~
I've always liked homemade paper. It probably comes from my love of stationary. So I was excited to learn how to make homemade paper ornaments-that even my little guy could make.
I came across this post that first told me about these paper ornaments. A Faithful Journey let me know that by not reading my Family Fun magazine, I had missed out on this little craft. I immediately went to my December issue and found this homemade paper ornament craft.
| Photo from Family Fun That very day my children and I went about making our own ornaments before naptime. Even my two year old son made his own! We decided to make tree ornaments. I thought my newly acquired sequins would add a nice touch since we do not use glitter in our home. Interested in your own? These directions will make three 3 inch ornaments. |
1. Preheat your oven to 200 degrees. Take 3 pieces of construction paper and tear them into domino-sized pieces.
2. Place the torn paper in a blender with 1 1/2 cups hot water. Stir a bit to make sure all the paper is wet. Let it sit for five minutes.
3. Pulse in the blender for about 30 seconds. Be sure the lid on the blender is on securely, otherwise the heat will make the lid come off a bit. Then you will listen to your son say, "Mess! Mess!" to you.
4. Place the paper pulp in a strainer and squeeze out the extra water. Place a rag on top and push down to remove additional water.
I would suggest dividing the paper pulp into thirds so you know how much pulp to put in each ornament.
5. On top of a plate, put a dish towel. On the dishtowel place a paper towel and then your 3 inch ornament.
6. Spoon paper pulp in the ornament and press down. This is where more detail would have been nice from Family Fun. I'm not sure how thick these ornaments are supposed to be. I'm guessing about 5 mm?
Be sure to get the corners really well. Then place a rag on top to get the extra water out. If you are using glitter, sprinkle now.
7. Gently press the cookie out of the cookie cutter.
8. Bake at 200 degrees for two hours, according to Family Fun. We used parchment paper on cookie sheets. If you are me, you will need to bake them for about 4 hours to remove all the moisture, which is important. I'm not sure if ours were way too thick...but 2 hours was not nearly enough. (Once again, I would suggest dividing the pulp into thirds. We did not do that. I wish we had thought to do that!)
9. Since the sequins that we put on did not stay on, I used Mod Podge as a glue covering, which worked effectively. You could wait until now until now to put the sequins on with glue or Mod Podge. Instead of trying to
10. Finish by gluing a thin ribbon or yarn to the back of the ornament.
| My 2 year old's tree. |
Interestingly enough, we tried to make a second batch of ornaments. I thought it would be fun to add flecks of other colors to the tree ornament. So in addition to the original three green pieces of paper, I added scraps of other colors. Well, you know what happens when you mix all the colors, right? You get brown!
So our plan changed and we made gingerbread men. Of course, these go well with our gingerbread children craft and our gingerbread house.
How about a little reading to go along with these lovely homemade paper ornaments?
The Legend of the Christmas Tree
or The Gingerbread Friends
might be enjoyed by your family like they are by us!
Thursday, December 2, 2010
Gingerbread Children
Packaging paper...we often get it in abundance at this time of the year, and I try to reuse it. Today's project used paper from ONE little box. Last year I shared a different packaging paper use that my daughter actually remembered when I put the paper on the floor today!
Yesterday morning I was going through my google reader catching up with some blogging friends when I came across my friend at Superheroes and Princesses post about how they made a gingerbread boy and girl. I was instantly inspired, especially since we have the book memorized and all needed materials were on hand.
We read Richard Scarry's The Gingerbread Bo
y often-several times a week. We recently borrowed The Gingerbread Baby
by Jan Brett from the library and loved that, too. M was absolutely thrilled with the idea of making a gingerbread girl, and E, our 2 year old, was eager to do like his sister.
First, I traced their bodies. Um. Just so you know, my children do have necks!
I gave E some buttons to color, though he did scribble some. I actually colored his hair and showed him the facial features that I colored.
M spent most of her time making "rainbow hair." She really likes rainbows! She also gave herself some buttons. I drew some flowers for her to color, too. Everything else she did completely on her own. I love the giant smile!
Yesterday morning I was going through my google reader catching up with some blogging friends when I came across my friend at Superheroes and Princesses post about how they made a gingerbread boy and girl. I was instantly inspired, especially since we have the book memorized and all needed materials were on hand.
We read Richard Scarry's The Gingerbread Bo
First, I traced their bodies. Um. Just so you know, my children do have necks!
I gave E some buttons to color, though he did scribble some. I actually colored his hair and showed him the facial features that I colored.
M spent most of her time making "rainbow hair." She really likes rainbows! She also gave herself some buttons. I drew some flowers for her to color, too. Everything else she did completely on her own. I love the giant smile!
E really wanted to spend his time playing with the markers. Cap on. Cap off. In the box. Dump the box.
I cut out the gingerbread after they colored. (M wanted the extra bit of her head included. She had turned her head while I was tracing. Oh well.)
Meet Gingerbread Girl and Gingerbread Boy!
Thanks, Christy, for another great idea!
I'm linking up this week to ABC and 123 and stART! Check them out for other awesome kid activities!
Labels:
book activity,
Christmas,
Holidays,
paper craft,
preschool craft
Thursday, October 21, 2010
The Pumpkin Patch Parable and ....
One of my favorite writers and speakers is Liz Curtis Higgs. You might have heard of her Bad Girls of the Bible
series or even some of her fiction like Here Burns My Candle
. For years I also enjoyed her articles in Today's Christian Woman magazine.
Liz is also a children's author! She has a series of Christian children's picture books
that I appreciated as a teacher, and now we have our own Pumpkin Patch Parable
. This is a book that will be used for many years to share the truth of Jesus and how WE are to be lights for God.

The Pumpkin Patch Parable
is a parable (a story that illustrates a truth) that tells how the Farmer plants the pumpkins. He then chooses a special pumpkin. He is able to remove all the slime and pulp and give it a new face. The Farmer made the pumpkin glow and it made all the people smile. It is summarized well, explaining that God also offers the chance to be made new, and full of joy and light so that we can shine in this world. (Liz Curtis Higgs explains in an introduction that it is not a celebration of Halloween, but an alternative autumn message that redeems a familiar symbol of the harvest season for His good purpose.) I really appreciated all the Scripture included in this book to help a child understand the meaning behind the parable (in addition to the explanation at the end).
If you read The Pumpkin Patch Parable, it will be clear that the logical follow-up activity would be to carve a pumpkin, but, um, we didn't do that, nor did we have pumpkins when we made this craft. So we made our own.
For my almost 2 year old, I precut the shapes and had him find the shapes. Then we called them the related name of eyes, nose, mouth, and stem. My older child got to choose which color she wanted to make each feature and which shape it was to be. That's why it has a purple nose and eyes!
This is such a simple craft. If you have not yet made crafts with your young child, I would encourage you to try a basic pumpkin craft like this one. Afterward, you can have fun carving a pumpkin to share about God's love and forgiveness!
To see another autumn craft, but not pumpkin related for this book, visit Just Next Door!
This craft was featured at Winning Readings! I'm also linking up to stART and ABC and 123's show and tell!
Since this is a week of celebration, giveaways, and this is such a fabulous book...after getting our own copy this month as a birthday gift, I found a gently used copy...just for you!
Liz is also a children's author! She has a series of Christian children's picture books
The Pumpkin Patch Parable
If you read The Pumpkin Patch Parable, it will be clear that the logical follow-up activity would be to carve a pumpkin, but, um, we didn't do that, nor did we have pumpkins when we made this craft. So we made our own.
For my almost 2 year old, I precut the shapes and had him find the shapes. Then we called them the related name of eyes, nose, mouth, and stem. My older child got to choose which color she wanted to make each feature and which shape it was to be. That's why it has a purple nose and eyes!
This is such a simple craft. If you have not yet made crafts with your young child, I would encourage you to try a basic pumpkin craft like this one. Afterward, you can have fun carving a pumpkin to share about God's love and forgiveness!
To see another autumn craft, but not pumpkin related for this book, visit Just Next Door!
This craft was featured at Winning Readings! I'm also linking up to stART and ABC and 123's show and tell!
Since this is a week of celebration, giveaways, and this is such a fabulous book...after getting our own copy this month as a birthday gift, I found a gently used copy...just for you!
Giveaway
If you would like to win be a follower of this blog and leave me a comment telling me why you want this fabulous book!
For Additional Entries-Leave a separate comment for each entry.
If you previously left a comment between 10/1/10 and 10/24/10 give yourself another entry/comment!
Blog about this week's celebration here at Live, Learn, love for 3 more entries! (Blog once...and it counts all week!)
Giveaway ends Tuesday, October 26th at 7 pm EST.
Thank you, Aunt Janice and Uncle Bill for our copy of this book. This is a different copy...one I found used, but got to share with a special reader just in time for the celebration.
Labels:
book activity,
children's books,
paper craft,
preschool craft
Subscribe to:
Posts (Atom)
This Simple Home (The New Blog)
-
How to Make Butter Slime - My daughter has been asking to make butter slime. With a very successful second and third tries (not first), we thought we'd share this butter slime recipe...